Welcome to the Dutch Oven Temperature Guide, your ultimate resource for mastering heat control in Dutch Oven cooking. Understand the basics of temperature management, explore expert techniques, and discover how to achieve perfect results every time.
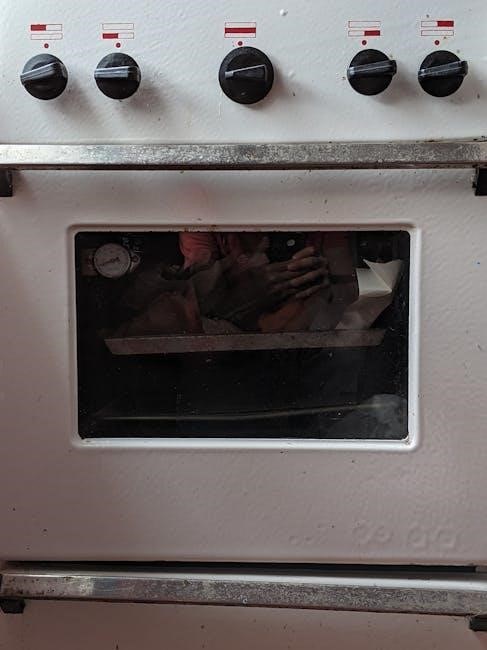
1.1 What is a Dutch Oven?
A Dutch Oven is a thick-walled, heavy cooking pot with a tight-fitting lid, typically made of cast iron. It is designed for slow cooking, braising, and retaining heat evenly. The pot’s design allows for versatile cooking methods, including baking, roasting, and stewing, making it ideal for both indoor and outdoor use; Its durability and heat retention properties make it a favorite for chefs and home cooks alike.
1.2 Importance of Temperature Control in Dutch Oven Cooking
Temperature control is crucial for achieving consistent results in Dutch Oven cooking; Proper heat management prevents overcooking or undercooking, ensuring dishes are perfectly cooked. It also helps maintain moisture, texture, and flavor, especially for delicate foods. Accurate temperature regulation is key to mastering techniques like baking, roasting, and slow cooking, making it essential for both novice and experienced cooks to understand and apply effectively.
Understanding Dutch Oven Temperature Basics
Mastering Dutch Oven cooking starts with understanding how heat behaves. Learn about heat distribution, temperature zones, and how different heat sources affect cooking outcomes for consistent results every time.
2.1 How Heat Distribution Works in a Dutch Oven
A Dutch Oven distributes heat evenly due to its thick, heavy-gauge metal construction. Heat radiates from the bottom and sidewalls, creating a uniform cooking environment. The lid traps heat and moisture, ensuring consistent temperatures. Proper preheating and fuel management enhance this process, while factors like material quality and cooking technique influence overall heat distribution efficiency.
- The heavy construction retains and distributes heat evenly.
- The lid plays a key role in trapping heat and moisture.
- Preheating ensures a stable temperature before cooking begins.
2.2 Factors Affecting Temperature in a Dutch Oven
Several factors influence temperature control in a Dutch Oven, including lid placement, ventilation, and heat source management. The type of fuel, such as charcoal or wood, impacts heat consistency. Preheating duration and material thickness also play roles. Environmental conditions, like wind or ambient temperature, can affect heat retention and distribution, requiring adjustments to maintain desired cooking temperatures.
- Lid placement and ventilation control heat retention.
- Fuel type and arrangement significantly impact temperature.
- Environmental factors necessitate real-time adjustments.
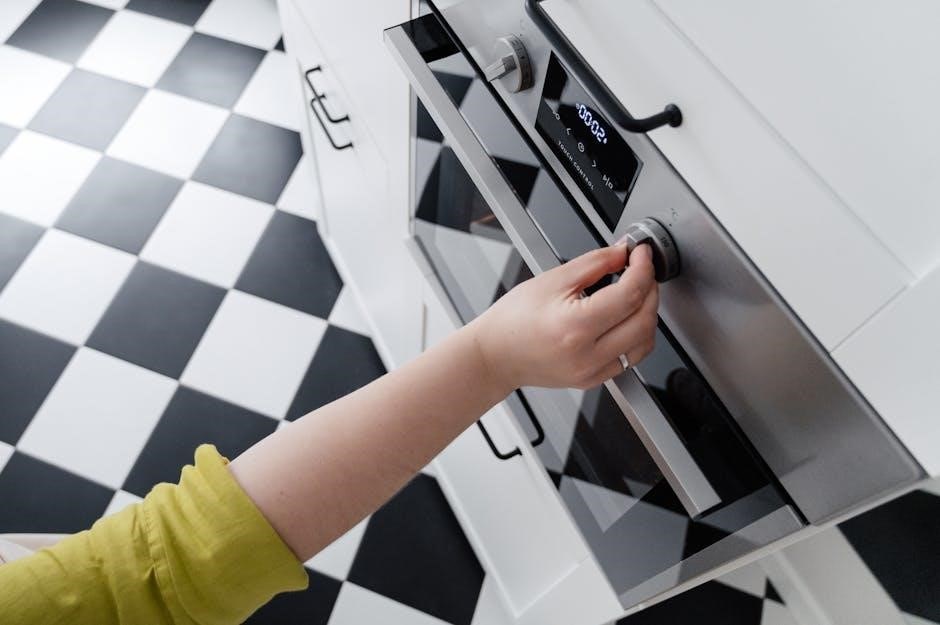
Setting Up Your Dutch Oven for Temperature Control
Proper setup is crucial for consistent heat. Preheat the oven, position the lid correctly, and arrange coals or wood evenly. Use insulation to retain heat effectively.
3.1 Preheating Your Dutch Oven
Preheating your Dutch Oven is essential for even heat distribution. Place coals or arrange wood beneath and around the oven, allowing it to heat evenly for 15-20 minutes. Monitor the temperature using a thermometer to ensure it reaches your desired setting. Avoid rushing this step, as consistent preheating ensures better cooking results and prevents hotspots.
3.2 Using the Lid for Temperature Regulation
The lid is a crucial tool for temperature control. It helps retain heat and moisture, ensuring even cooking. By adjusting the lid’s angle, you can regulate airflow and manage temperature fluctuations. Placing the lid slightly ajar allows steam to escape, preventing overheating, while closing it tightly traps heat for consistent cooking results.
3.3 Role of Ventilation in Temperature Management
Ventilation plays a key role in managing Dutch Oven temperatures. Proper airflow helps regulate heat and moisture, preventing pressure buildup. Adjusting the lid’s position or using vents allows you to control steam release, maintaining consistent temperatures. This technique prevents overheating and ensures even cooking, making ventilation an essential skill for mastering Dutch Oven temperature control.
Maintaining Consistent Temperature
Maintaining consistent temperature in Dutch Oven cooking is crucial for even results. Monitor heat, adjust fuel, and use thermometers to ensure steady conditions throughout cooking.
4.1 Monitoring Temperature During Cooking
Accurate monitoring is essential for consistent results. Use thermometers to track internal and ambient temperatures. Regularly check heat levels, adjust fuel or vents as needed, and maintain a steady temperature for even cooking.
4.2 Adjusting Heat Sources for Stable Temperature
Stable temperature is achieved by adjusting heat sources. Use thermometers to monitor internal temperatures and adjust fuel or airflow as needed. For charcoal, move coals or adjust vents to regulate heat. Ensure even heat distribution by rotating the Dutch oven periodically. Regular adjustments and patience are key to maintaining consistent cooking temperatures.
Common Temperature-Related Challenges
Cooking with a Dutch oven often involves managing temperature fluctuations and recovering from unexpected drops. Uneven heat distribution and fuel management are common challenges to address for consistent results.
5.1 Dealing with Temperature Fluctuations
Temperature fluctuations are a common challenge when cooking with a Dutch oven. To manage this, monitor heat sources closely and adjust as needed. Using a thermometer ensures accuracy, while proper ventilation helps stabilize temperatures. Preheating the oven and maintaining insulation are key strategies to minimize sudden drops or spikes, ensuring consistent cooking results.
5.2 Recovering from Temperature Drops
If a temperature drop occurs, act quickly to stabilize the heat. Increase the heat source gradually, ensuring even distribution. Avoid sudden spikes by monitoring closely. Use insulation to retain warmth and prevent further drops. Adjust ventilation to maintain consistent airflow, and consider preheating lids or adding coals if needed. Recovery requires patience and careful adjustment to restore the desired temperature without overcompensating.
Safety Tips for Handling High Temperatures
Always wear heat-resistant gloves and use tongs to avoid direct contact with hot surfaces. Keep a fire extinguisher nearby and ensure proper ventilation to prevent accidents. Never leave a heated Dutch oven unattended, and store it safely after cooling to avoid burns or fires.
6.1 Preventing Burns When Handling a Hot Dutch Oven
Always use heat-resistant gloves or tongs when handling a hot Dutch oven. Place it on a trivet or heat-resistant surface to avoid direct contact with flammable materials. Never touch the oven or lid without proper protection, as they retain heat for a long time. Ensure the area is clear of children and flammable items. Use caution when lifting or moving the Dutch oven, as handles can also become extremely hot.
6.2 Safe Storage and Cooling of the Dutch Oven
Allow the Dutch oven to cool naturally; never submerge it in cold water to avoid cracking. Once cool, clean and thoroughly dry it before storing. Store in a dry place, away from moisture, to prevent rust. Avoid stacking heavy items on top of it. Always ensure the lid is securely placed to maintain airflow and prevent moisture buildup during storage.
Dutch Oven Temperature Chart
The Dutch Oven Temperature Chart provides essential heat guidelines for baking, roasting, and slow cooking. Use it to achieve consistent results and perfectly cooked dishes every time with precise heat control.
7.1 Ideal Temperatures for Different Cooking Methods
Discover the perfect heat settings for various techniques. Baking typically requires 350-425°F, while roasting works best at 300-375°F. For slow cooking, maintain 200-300°F. Use a thermometer for accuracy and adjust as needed to ensure even cooking and avoid overheating or undercooking.
7.2 Converting Between Fahrenheit and Celsius
Easily convert temperatures using the formula: subtract 32 from Fahrenheit, then multiply by 0.5556 for Celsius. For example, 350°F becomes 175°C. Use Google to quickly convert values, ensuring accuracy for your Dutch Oven recipes. This helps in maintaining precise heat control, essential for consistent cooking results across different scales.
Choosing the Right Fuel for Temperature Control
Selecting the ideal fuel for your Dutch Oven ensures precise heat control. Charcoal offers classic, adjustable heat, while electric and gas provide modern, easy-to-regulate options. Each fuel type delivers unique benefits for consistent cooking results.
8.1 Pros and Cons of Using Charcoal
Charcoal provides excellent heat retention and distribution, ideal for Dutch Oven cooking. It offers a traditional, smoky flavor and allows for precise temperature control. However, charcoal can be challenging to regulate, requiring frequent adjustments. Cleaning up after charcoal use can also be messy. Despite these drawbacks, many cooks prefer charcoal for its authentic cooking experience and ability to achieve consistent results with practice.
8.2 Benefits of Using Wood for Heat
Wood adds a unique, smoky flavor to dishes and provides consistent heat when managed properly. It offers versatility in cooking setups and imparts a traditional aroma to food. However, wood can burn inconsistently and produce soot if not dried properly. Despite these challenges, wood remains a popular choice for Dutch Oven cooking due to its authentic, hearty results and ability to enhance flavor profiles effectively.
8.3 Electric and Gas Options for Precise Control
Electric and gas heat sources offer precise control over Dutch Oven temperatures, enabling consistent results. These methods are ideal for indoor or controlled environments, providing ease of use and quick adjustments. Electric ovens ensure uniform heat distribution, while gas stoves allow for instant temperature changes. Both options minimize soot and simplify cleaning, making them practical for home cooks seeking reliable Dutch Oven performance without compromising on flavor quality.
Dutch Oven Temperature Guide for Specific Dishes
Discover optimal temperature settings for baking, roasting, and slow cooking in a Dutch Oven. Learn how to adjust heat for perfect bread, tender meats, and flavorful stews every time.
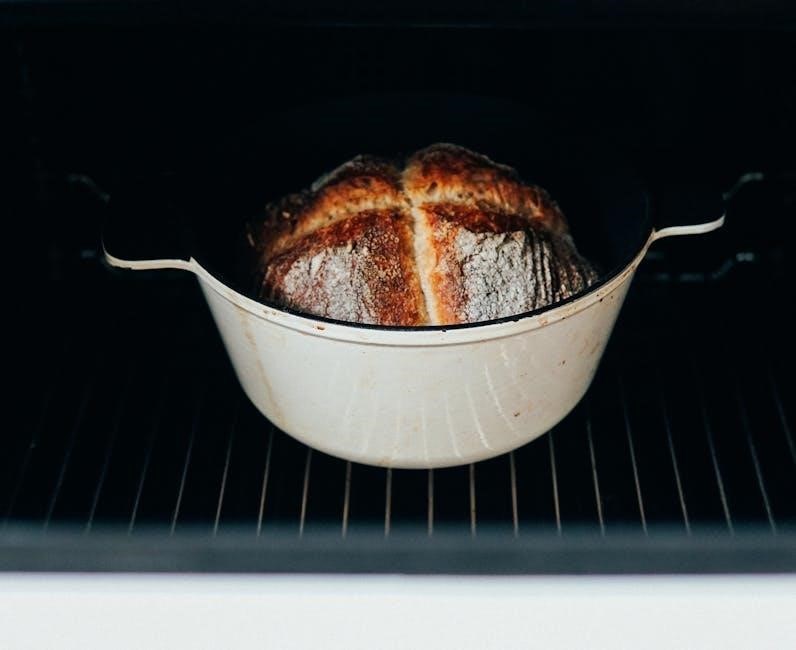
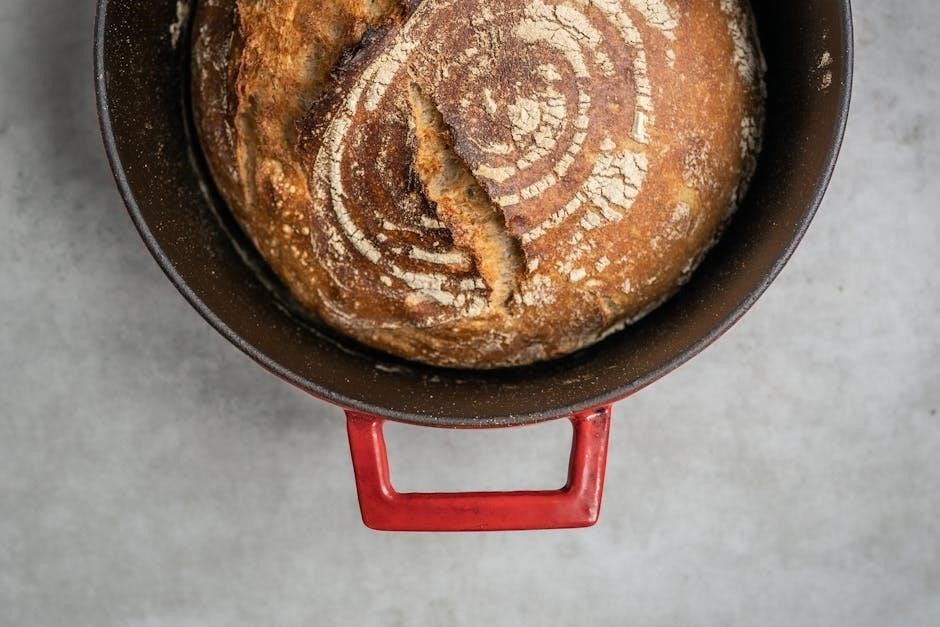
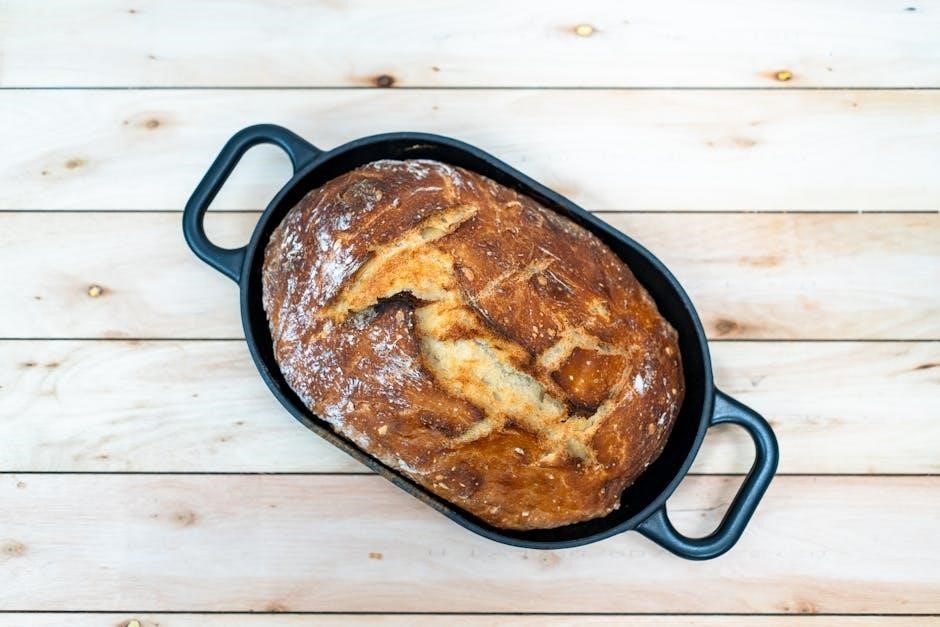
9.1 Baking in a Dutch Oven
Baking in a Dutch Oven requires precise temperature control for perfect results. Ideal temperatures range from 350°F to 450°F, depending on the recipe. Preheating is essential for even heat distribution. Use the lid to trap steam and promote risen dough. For bread, maintain consistent heat to achieve a golden crust. Always monitor temperature with a thermometer to ensure baking success.
9.2 Roasting Meats at the Right Temperature
Roasting meats in a Dutch Oven requires maintaining consistent temperatures between 300°F and 350°F. This ensures even cooking and prevents overcooking. Use the lid to retain moisture and promote tender results. Adjust heat sources as needed to stabilize the temperature. For larger cuts, a thermometer is essential to monitor internal meat temperatures, ensuring food safety and perfect doneness. Achieve a flavorful, caramelized crust with precise control.
9.3 Slow Cooking and Braising
Slow cooking and braising in a Dutch Oven are perfect for tenderizing tougher cuts of meat. Maintain a temperature of 275°F to 300°F by adjusting heat sources and using the lid. This method ensures even cooking and rich flavor infusion. Monitor temperature to prevent overheating, and use a thermometer for accuracy. Ideal for achieving fall-apart texture and deep flavors in dishes like pot roasts or stews.
Troubleshooting Temperature Issues
Identify common temperature-related mistakes, such as uneven heating or sudden drops. Learn to adjust charcoal, ventilation, or heat sources to stabilize cooking conditions and prevent overcooking or undercooking.
10.1 Identifying Common Temperature-Related Mistakes
Common temperature-related mistakes include incorrect preheating, poor ventilation, and improper fuel placement. Overloading the Dutch Oven or using too much charcoal can cause overheating, while insufficient heat leads to undercooking. Monitoring tools like thermometers can help detect these issues early, ensuring consistent results and preventing costly cooking errors.
10.2 Fixing Overheating or Underheating Problems
To address overheating, reduce the number of coals or adjust ventilation by slightly opening the lid. For underheating, add more coals or close the lid tighter. Use a thermometer to monitor temperature accurately. Adjusting heat sources and insulation can stabilize the temperature, ensuring even cooking and preventing further issues.
Best Practices for Dutch Oven Temperature Management
Use thermometers for precise monitoring, adjust ventilation for heat control, and layer coals for consistent temperatures. Regularly inspect and maintain your Dutch Oven to ensure optimal performance and even cooking results.
11.1 Using Thermometers for Accuracy
Accurate temperature control is crucial for Dutch Oven cooking. Use thermometers to monitor internal and ambient temperatures precisely. Place thermometers in the center of the pot to avoid hotspots. Ensure they are oven-safe and calibrated for accurate readings. This helps maintain consistent heat, preventing undercooking or burning. Invest in reliable thermometers to elevate your cooking results and ensure perfect doneness every time.
11.2 The Role of Insulation in Retaining Heat
Insulation is key to retaining heat in Dutch Oven cooking. The thick, heavy construction naturally traps heat, ensuring consistent temperatures. To enhance insulation, use a lid to minimize heat loss and place the Dutch Oven in a draft-free area. Wrapping it in towels or using hot coals on top and bottom can further maintain heat, ensuring even cooking and precise temperature control for optimal results.
Cleaning and Maintaining Your Dutch Oven
Regular cleaning and maintenance ensure your Dutch Oven performs optimally. Avoid harsh chemicals; clean with hot water and mild soap. Dry thoroughly after use to prevent rust and season periodically for durability and heat retention.
12.1 Importance of Regular Maintenance
Regular maintenance is crucial for extending the life of your Dutch Oven. Cleaning after each use prevents food residue buildup, while seasoning ensures rust prevention and optimal heat retention. Neglecting maintenance can lead to rust formation and uneven heat distribution, affecting cooking performance. Proper care ensures your Dutch Oven remains durable and continues to deliver consistent results for years.
12.2 Cleaning After High-Temperature Use
Cleaning your Dutch Oven after high-temperature use is essential to remove food residue and prevent rust. Use warm water and mild soap, avoiding harsh chemicals or abrasive scrubbers. Dry thoroughly with a towel and apply a thin layer of oil to maintain seasoning. Regular cleaning ensures optimal performance and longevity, keeping your Dutch Oven in prime condition for future cooking sessions.

Advanced Tips for Mastering Dutch Oven Temperature
Explore advanced techniques for precise temperature control, including layering heat zones and using dual fuel sources. These methods ensure consistent cooking and elevate your dishes to perfection.
13.1 Layering Heat for Complex Dishes
Layering heat involves strategically placing coals or heat sources to create temperature zones. This technique ensures even cooking for intricate recipes. By adjusting coal distribution and ventilation, you can maintain precise control over heat levels, allowing for simultaneous cooking of multiple components at varying temperatures. This method is ideal for dishes requiring both high and low heat areas, ensuring a perfectly balanced finish;
13.2 Using Temperature Zones for Even Cooking
Temperature zones allow for precise heat distribution by dividing the Dutch Oven into areas with varying heat levels. This technique ensures even cooking by placing hotter coals under specific sections. By arranging coals strategically and adjusting the lid, you can create distinct zones for searing, simmering, or keeping food warm. This method prevents burning and guarantees consistent results for complex dishes.
Resources for Further Learning
Explore recommended books, online forums, and video tutorials for advanced Dutch Oven techniques. Websites like WWW.DUTCHOVEN.ORG offer detailed guides and community support for mastering temperature control and cooking methods.
14.1 Recommended Books on Dutch Oven Cooking
Discover essential books like “The Dutch Oven Cookbook” and “Dutch Oven Delights”, offering comprehensive guides on temperature control, cooking techniques, and recipes. These resources provide practical knowledge on heat distribution, fuel selection, and achieving perfect results. Perfect for both beginners and experienced cooks, they share expert tips and methods for mastering Dutch Oven cooking.
14.2 Online Communities and Forums
Join online communities like Reddit’s r/DutchOvenCooking or Facebook groups dedicated to Dutch Oven enthusiasts. These forums offer expert advice, troubleshooting tips, and shared experiences. Engage with fellow cooks to refine your temperature control skills and explore new recipes. Online platforms provide valuable resources and real-time feedback to enhance your Dutch Oven cooking journey.
Mastery of Dutch Oven temperature control ensures consistent, delicious results. By applying these strategies, you’ll enhance your cooking skills and confidence. Happy cooking!
15.1 Summary of Key Temperature Control Strategies
Mastering Dutch Oven temperature control involves using thermometers for accuracy, adjusting heat sources, and managing ventilation. Preheating, lid placement, and insulation are crucial for consistent heat. Monitoring and adapting to temperature changes ensures even cooking and prevents hotspots. These strategies, when applied correctly, guarantee perfectly cooked dishes every time, making your Dutch Oven cooking experience both enjoyable and successful.
15.2 Encouragement to Experiment and Practice
Embrace the joy of Dutch Oven cooking by experimenting with new recipes and techniques. Each dish is an opportunity to refine your skills and explore the versatility of temperature control. Don’t fear mistakes—they’re part of the learning process. Keep practicing, and soon you’ll master the art of achieving perfect results every time. Happy cooking!