Planning a floating dock involves understanding its appeal, benefits, and construction details – a project documented for future builders seeking guidance and resources.
Understanding the Appeal of Floating Docks
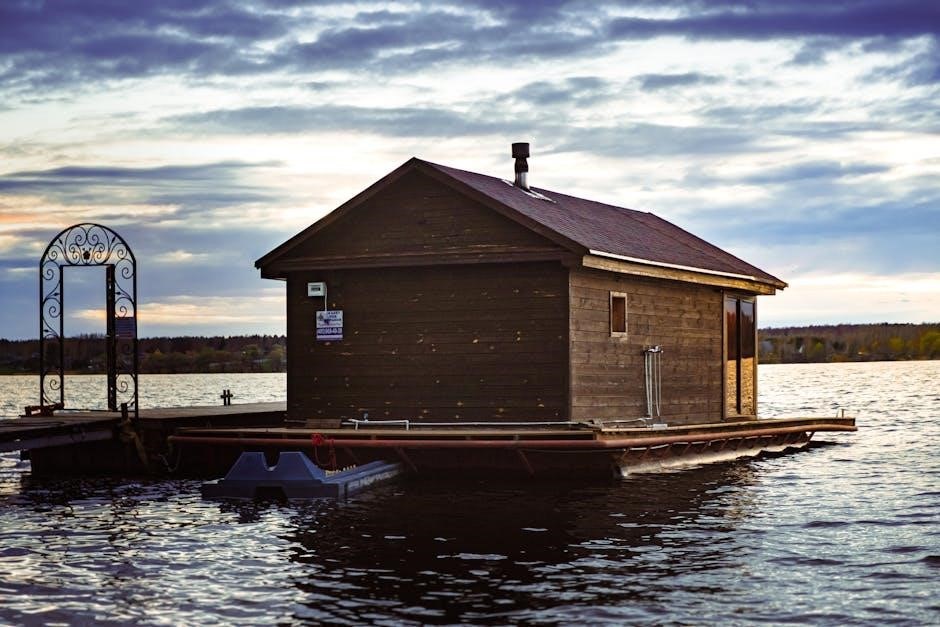
Floating docks offer a unique charm and practicality, especially for waterfront properties experiencing fluctuating water levels or seasonal changes. Unlike permanent, pile-driven docks susceptible to winter damage from freezing, floating docks gracefully rise and fall with the water, ensuring year-round usability.
Their adaptability makes them ideal for ponds, lakes, or areas with significant tidal variations. Many homeowners, like the author of this build, appreciate the aesthetic of a wooden dock without visible supports or floats. This preference drives design choices, favoring a clean, natural look.
The appeal also lies in the DIY potential, allowing customization and cost savings compared to pre-fabricated options, though careful planning and execution are crucial for a successful outcome.
Benefits of DIY Floating Dock Construction
Embarking on a DIY floating dock project presents several compelling advantages. Cost savings are significant, with the author estimating around $4000 for materials – a potentially lower expense than purchasing a comparable pre-built dock. This allows for budget allocation towards desired features and quality materials.
Furthermore, DIY construction fosters customization. Builders can tailor the dock’s size, layout, and aesthetic to perfectly match their needs and preferences, creating a truly unique waterfront extension.
The process itself is a rewarding experience, offering a sense of accomplishment and a deeper connection to the property. However, it demands careful planning, resourcefulness, and a willingness to learn, as documented by the author’s journey.

Planning Your Floating Dock
Successful dock construction requires careful consideration of dock type, water conditions, and desired size, ensuring a functional and aesthetically pleasing result.
Determining Dock Type: Floating vs. Fixed vs. Semi-Floating
Choosing the right dock type is fundamental to a successful build. Permanent, fixed docks utilize piles driven into the lakebed, offering sturdiness but potential winter damage in freezing climates. Seasonal fixed docks employ removable poles.
Alternatively, floating docks rest on pontoons, anchored to limit movement, ideal for fluctuating water levels or seasonal use. Aesthetically, some prefer docks without visible supports.
The described project utilizes a combination: a 12×8 floating section, a 4×12 semi-floating section, and a 4×6 fixed platform. This hybrid approach balances stability, aesthetics, and adaptability to the pond’s calm conditions and minimal water level changes. Considering these factors is crucial before proceeding.
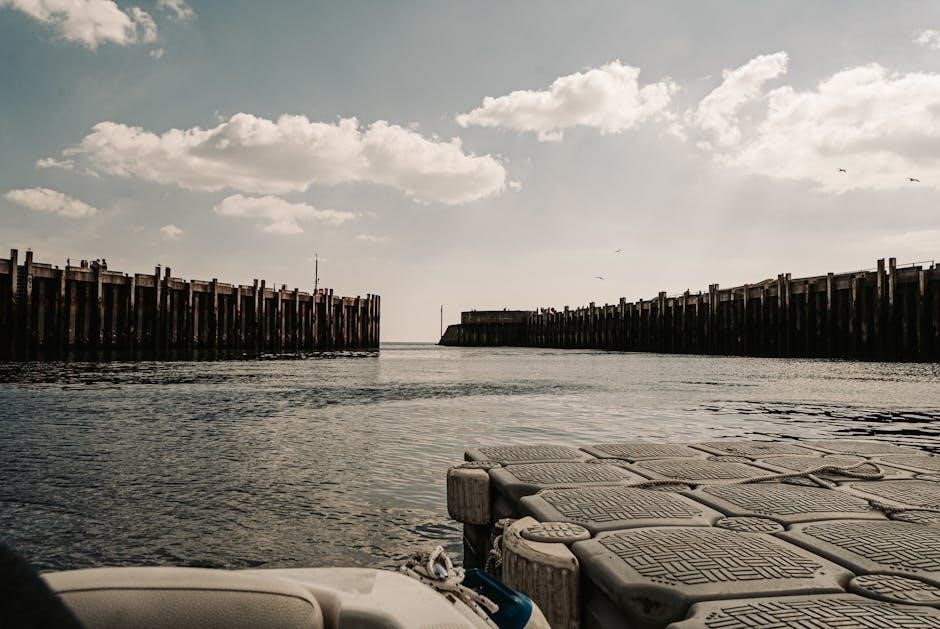
Assessing Water Conditions and Fluctuations
Understanding your waterbody is paramount before construction. The described pond is notably calm, simplifying dock design and reducing stress on anchoring systems. Minimal water level fluctuations are also a significant advantage, lessening the need for extensive adjustments or complex floating mechanisms.
However, even seemingly stable environments can experience unexpected changes due to rainfall, seasonal variations, or external factors. Thorough observation over a period is recommended.
For areas with significant tidal changes or substantial seasonal water level shifts, a fully floating dock is generally the most practical solution. Careful assessment prevents costly rework and ensures long-term dock stability.
Dock Size and Layout Considerations
Determining optimal dock dimensions requires careful thought. It’s advisable to “size up” when deciding between dimensions, as a dock invariably feels smaller once positioned on the water. Consider the intended use – swimming, boating, or simply relaxing – and plan accordingly.
The described project utilized a 12×8 foot floating section, a 4×12 semi-floating section, and a 4×6 fixed platform. This configuration provides ample space while accommodating shoreline access.
Think about the desired distance from shore for water activities and work backwards from that point. A common layout incorporates a floating section, a fixed section, and a connecting semi-floating section for smooth transitions.
Materials for Floating Dock Construction
Framing options include wood or aluminum, with decking choices impacting aesthetics and durability; selecting appropriate pontoon materials is also crucial for flotation.

Wood vs. Aluminum Framing Options
Choosing between wood and aluminum for your floating dock frame presents distinct advantages. Aluminum offers inherent resistance to corrosion, making it ideal for prolonged water exposure and minimizing maintenance needs. Numerous DIY dock kits utilize composable aluminum framing sections, simplifying construction. However, aluminum typically carries a higher upfront cost.
Conversely, wood provides a more traditional aesthetic and can be more cost-effective initially. Pressure-treated lumber is essential to withstand moisture and prevent rot, but even treated wood requires periodic sealing and maintenance. The decision often hinges on balancing budget, desired appearance, and long-term maintenance commitment. If you prioritize a sleek, modern look and minimal upkeep, aluminum is a strong contender. For a classic aesthetic and potentially lower initial expense, wood remains a viable option.
Choosing Appropriate Lumber for the Decking
Selecting the right lumber for your floating dock’s decking is crucial for durability and longevity. Pressure-treated lumber remains a popular choice due to its resistance to rot, decay, and insect infestation when consistently exposed to moisture. However, consider the grade of pressure treatment; higher grades offer enhanced protection.
Alternatively, naturally rot-resistant woods like cedar or redwood provide a beautiful, chemical-free option, though they come at a higher price point. Composite decking materials are also gaining traction, offering low maintenance and a consistent appearance. Regardless of your choice, ensure the lumber is properly sealed or stained to further protect it from the elements and UV damage, extending its lifespan and maintaining its aesthetic appeal.
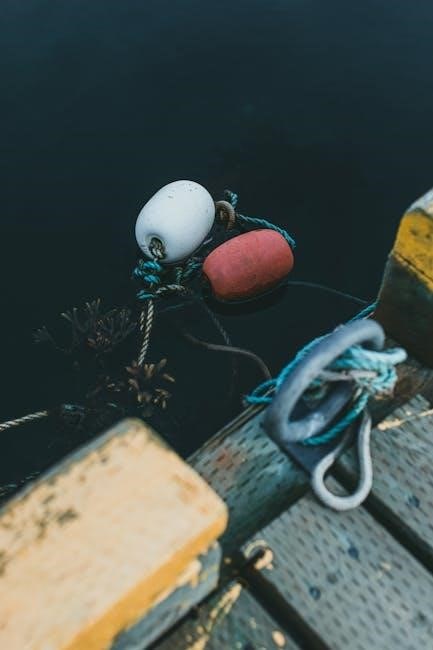
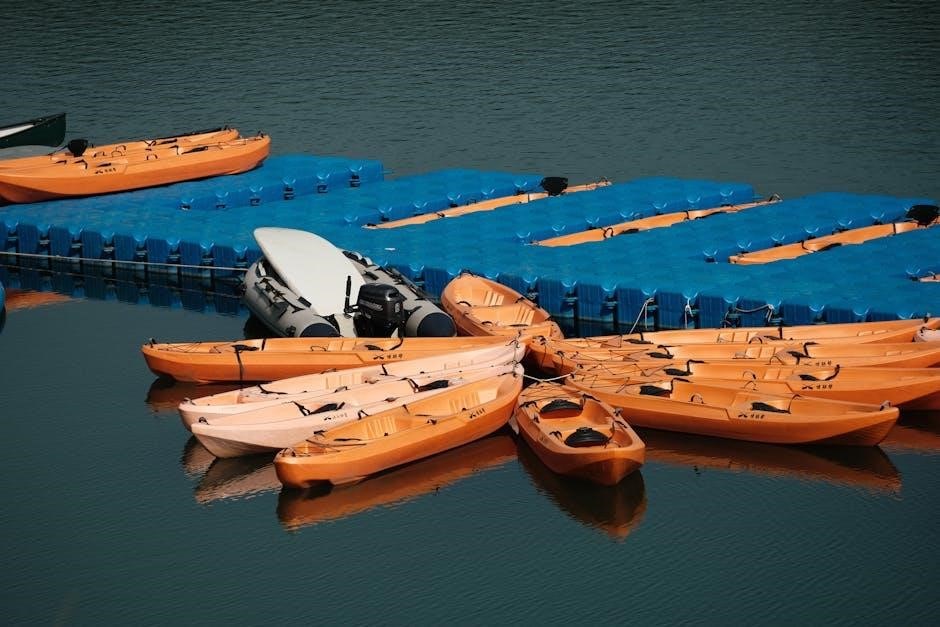
Selecting Suitable Floating Pontoon Materials
Choosing the right pontoon materials is fundamental to a successful floating dock. High-density polyethylene (HDPE) plastic drums are a common and cost-effective option, offering excellent buoyancy and durability. These are readily available and require minimal maintenance, resisting impacts and UV degradation.
Alternatively, purpose-built plastic floats designed specifically for dock construction provide a more streamlined and aesthetically pleasing appearance. Encapsulated polystyrene foam offers another buoyant solution, but requires careful protection from impacts and UV exposure. Consider the volume and weight capacity needed based on your dock’s size and intended load. Proper material selection ensures stable flotation and long-term performance in the aquatic environment.
Floating Dock Construction Steps
Building begins with assembling the floating frame, securely attaching decking, and then constructing the semi-floating section to connect platforms effectively.
Building the Floating Frame
Constructing the floating frame is a crucial initial step, demanding careful attention to detail for optimal buoyancy and stability; The frame typically utilizes either wood or aluminum, with wood being a common choice for DIY projects due to its accessibility and cost-effectiveness. Ensure all lumber is pressure-treated to withstand constant water exposure and prevent rot.
The frame’s design should incorporate sufficient support to handle anticipated loads. Floating pontoons, the core of the floating system, are attached securely to this frame. Proper spacing and attachment methods are vital to distribute weight evenly and maintain the dock’s levelness. Consider using robust fasteners designed for marine environments to resist corrosion. Pre-assembled framing kits can simplify this process, offering composable sections for easier construction and customization.
Attaching Decking to the Floating Frame
Securing the decking to the completed floating frame transforms the structure into a usable surface. Choosing appropriate lumber for decking is essential; pressure-treated wood remains a popular and durable option. Ensure the decking boards are properly spaced to allow for expansion and contraction due to moisture changes, preventing warping or buckling.
Utilize marine-grade screws or fasteners designed to resist corrosion, as standard screws will quickly deteriorate in a wet environment. Stagger the seams of the decking boards for increased strength and a more aesthetically pleasing appearance. A smooth, even surface is crucial for safety and comfort. Consider applying a sealant or stain to protect the wood from the elements and enhance its longevity.
Constructing the Semi-Floating Section
The semi-floating section bridges the gap between the fully floating platform and the fixed shoreline connection, offering a stable transition. This section typically involves a frame partially supported by floats and partially by posts or legs extending towards the lakebed. Careful planning is needed to ensure proper height alignment with both the floating dock and the shore.
Construct the frame similarly to the floating section, but incorporate supports for the legs. These legs should be adjustable to accommodate minor water level fluctuations. Securely attach the decking to this frame, maintaining consistent spacing and using corrosion-resistant fasteners. This section provides a more stable walking surface near the shore, enhancing accessibility and usability.
Anchoring and Stabilization
Effective anchoring is crucial for limiting dock movement, utilizing systems connected to the lakebed, and potentially incorporating shoreline connections for stability.
Anchoring Systems for Floating Docks
Selecting the right anchoring system is paramount for a floating dock’s stability and longevity. Several options exist, each suited to different lakebed conditions and anticipated usage. Traditional anchoring involves using heavy weights, like concrete blocks or filled barrels, attached to the dock frame with ropes or chains. These are simple but can drag in strong currents or during storms.
More sophisticated systems utilize screw anchors, which are driven into the lakebed and provide a more secure hold. Another approach involves using helical anchors, offering excellent holding power and minimal disturbance to the environment. The choice depends on the lakebed composition – sandy, muddy, or rocky – and the expected water depth and wave action. Proper anchoring prevents excessive movement, ensuring the dock remains functional and safe for users, and protects it from damage.
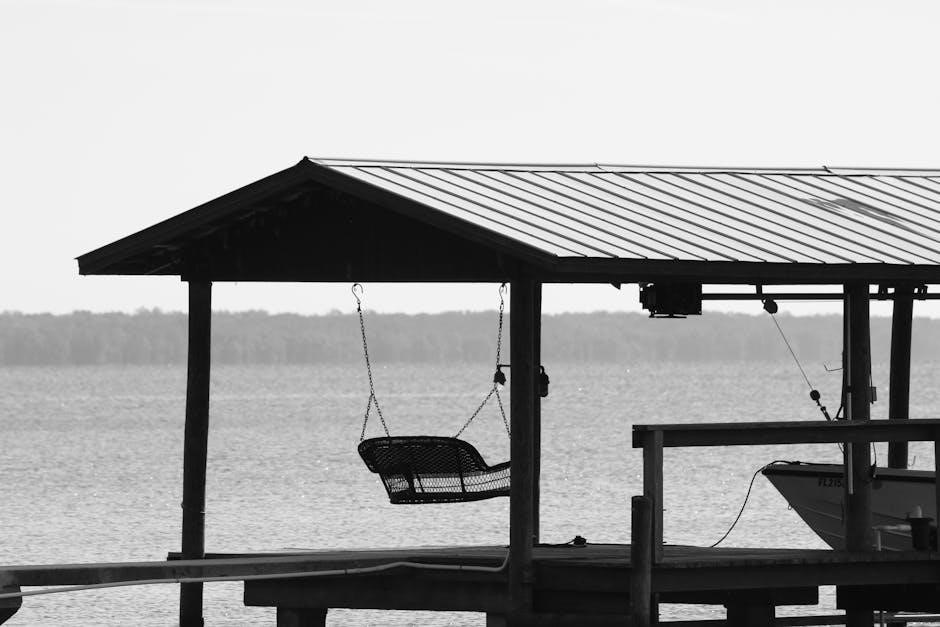
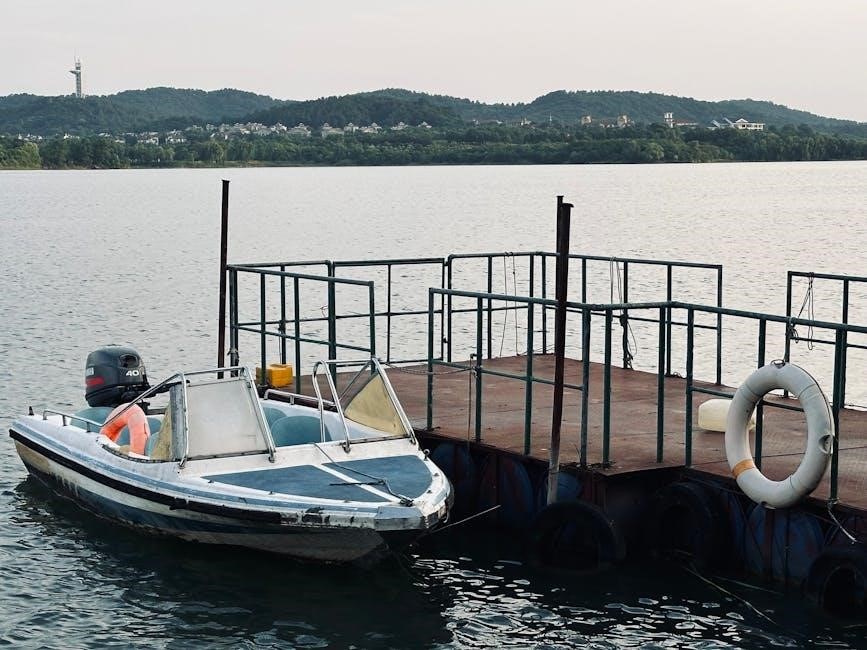
Shoreline Connection Methods
Connecting a floating dock to the shoreline offers added stability and ease of access. A common method involves creating a gangway – a short, inclined walkway – that extends from the shore to the dock. This requires careful consideration of the shoreline slope and potential water level fluctuations. The gangway must be robustly constructed to withstand repeated use and varying weather conditions.
Alternatively, a flexible connector can be used, allowing the dock to move with the water while remaining loosely attached to the shore. This is particularly useful in areas with significant tidal changes or water level variations. Proper shoreline connections minimize stress on the dock’s anchoring system and provide a safe and convenient transition between land and water, enhancing the overall usability of the structure.
Preventing Excessive Dock Movement
Minimizing unwanted dock movement is crucial for safety and usability. While floating docks are designed to rise and fall with water levels, excessive swaying or drifting can be problematic. Strategic anchoring is paramount; multiple anchors, spread appropriately, distribute the load and resist directional forces.
Consider using shock-absorbing materials in the anchor lines to dampen movement caused by waves or boat wakes. Shoreline connections, like a well-designed gangway, also contribute to stability. Regularly inspect anchor lines for wear and tear, and adjust anchor positions as needed to maintain optimal dock positioning. A stable dock enhances the enjoyment and safety of your waterfront experience.

Cost Estimation and Budgeting
Budgeting for a floating dock requires accounting for hardware, floats, lumber, and potential extra expenses like tools or necessary building permits.
Hardware and Float Costs
Estimating hardware costs involves considering fasteners – screws, bolts, and connectors – needed for assembling the frame and decking. The quantity will depend on the dock’s size and design complexity. Float costs are a significant portion of the budget, varying based on the material (plastic drums, dedicated dock floats) and the required buoyancy for the dock’s load capacity.
The author’s project incurred roughly $2000 in hardware and float expenses. Choosing pre-made dock kits with composable framing sections can simplify construction but may increase hardware costs. Careful sourcing and comparison shopping are crucial for minimizing these expenses. Consider the long-term durability of hardware to avoid premature replacements, impacting the overall cost-effectiveness of the project; Prioritize corrosion-resistant materials for longevity.
Lumber and Material Expenses
Lumber costs depend heavily on the chosen wood species and the dock’s dimensions. Pressure-treated lumber is essential for resisting rot and insect damage in a marine environment, but it’s more expensive than untreated options. Decking material also contributes significantly; cedar, redwood, or composite decking offer varying price points and durability.
The author’s build required approximately $2000 in lumber. Consider the grade of lumber – higher grades are stronger and have fewer imperfections, justifying the cost. Efficient cutting and minimizing waste can reduce lumber expenses. Explore local lumberyards for competitive pricing and potential discounts. Remember to factor in the cost of any additional materials like stain, sealant, or protective coatings to enhance the lumber’s lifespan.
Potential Additional Costs (Tools, Permits)
Beyond lumber and hardware, anticipate expenses for tools you may not already own. A circular saw, drill, impact driver, and measuring tools are fundamental. Renting specialized equipment like a post-hole digger (if a fixed section is included) can save money. Don’t forget fasteners – screws, bolts, and nails add up quickly.
Crucially, investigate local permitting requirements. Many jurisdictions require permits for dock construction, incurring application fees and potential inspection costs. These regulations ensure environmental protection and safety. Factor in potential costs for site preparation, like clearing vegetation, and disposal of construction debris. A contingency fund is wise for unexpected issues.
Safety Considerations
Prioritize safety by ensuring adequate weight capacity, selecting proper fasteners, and performing regular inspections to maintain structural integrity and prevent accidents.
Weight Capacity and Load Distribution
Determining the safe weight capacity is crucial for a floating dock’s longevity and user safety. The pontoon’s buoyancy directly dictates how much weight the dock can support without compromising stability or sinking. Carefully calculate the total anticipated load, including people, furniture, and any potential equipment.
Evenly distribute weight across the dock’s surface to prevent localized stress and potential structural failure. Concentrated loads in one area can overwhelm the pontoons and lead to uneven settling or tipping. Consider the placement of heavier items and encourage users to spread out their weight. Proper load distribution ensures the dock remains level and stable, enhancing overall safety and usability for everyone enjoying the waterfront space.
Proper Fastener Selection
Choosing the right fasteners is paramount for a durable and safe floating dock, especially considering the constant exposure to water and fluctuating conditions. Stainless steel screws and bolts are highly recommended, as they resist corrosion far better than other metals, preventing rust and structural weakening over time.
Galvanized fasteners offer a more economical option, but may not provide the same long-term corrosion resistance. Ensure fasteners are appropriately sized for the materials being joined, and use washers to distribute the load and prevent damage to the wood. Regularly inspect fasteners for signs of corrosion or loosening, and replace them as needed to maintain the dock’s integrity and prevent potential hazards.
Regular Maintenance and Inspections
Consistent upkeep is crucial for extending the lifespan and ensuring the safety of your floating dock. Annual inspections should focus on the structural integrity of the frame, decking, and floatation devices, checking for any signs of wear, damage, or rot.
Pay close attention to fasteners, tightening or replacing any that are loose or corroded. Clean the deck surface regularly to prevent algae buildup and maintain a safe walking surface. Inspect the anchoring system to ensure it remains secure and effective, and address any issues promptly. Proactive maintenance prevents costly repairs and guarantees years of enjoyment.