Welcome! This manual guides you through the Canon Rebel XS (1000D), unlocking its full potential for stunning photography, as of today, 05/05/2026.
What’s in the Box?
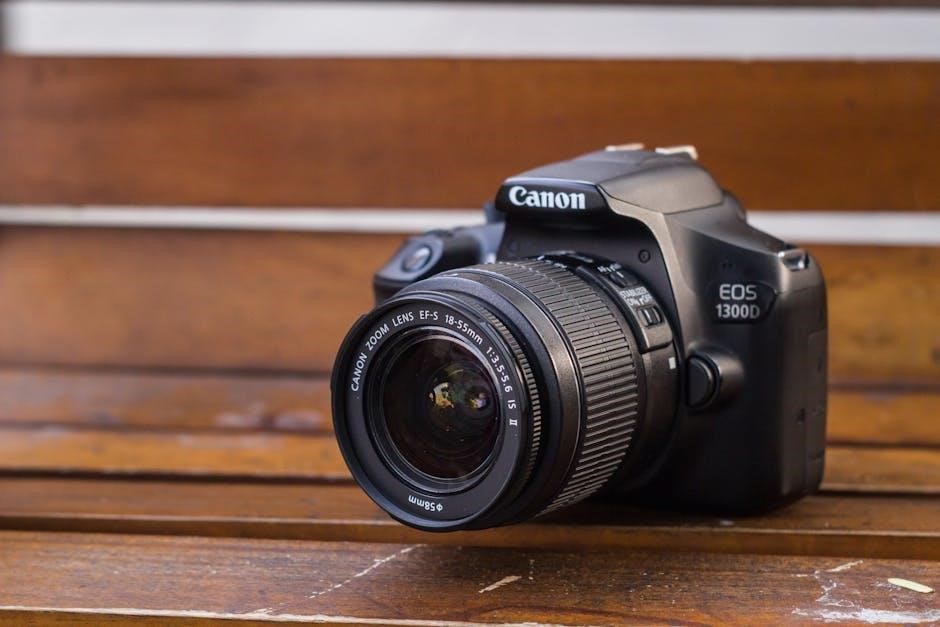
Upon opening your Canon Rebel XS (1000D) box, you should find the following items: the camera body itself, a Canon EF-S 18-55mm kit lens, a wide strap for comfortable carrying, a battery charger, and a battery pack. Additionally, you’ll receive a USB cable for transferring photos, an AV cable for video output, and this comprehensive instruction manual to guide you. Don’t forget the warranty card and software CD!
Key Features and Specifications
The Canon Rebel XS boasts a 10.0-megapixel APS-C CMOS sensor, delivering detailed images. It features a DIGIC 3 Image Processor for fast operation and excellent image quality. Capture photos at up to 3 frames per second with its continuous shooting mode. The 9-point autofocus system ensures sharp focus, while the 2.5-inch LCD screen provides clear viewing. It supports SD/SDHC memory cards and offers various shooting modes for creative control.
Getting Started: Initial Setup
Begin your photographic journey! This section details the essential first steps: inserting the battery and memory card, and powering on the camera correctly.
Inserting the Battery and Memory Card
Powering up requires proper installation. Locate the battery compartment door on the camera’s bottom. Gently slide it open and insert the Canon battery pack, ensuring correct polarity as indicated. Next, find the SD card slot, typically near the battery. Insert a compatible SD card (or SDHC) label-side up until it clicks into place.
Confirm secure placement before closing both compartment doors. Incorrect insertion may prevent the camera from functioning correctly, so double-check everything!
Charging the Battery
Ensure optimal performance with a fully charged battery. Connect the Canon battery charger to a standard wall outlet. Insert the battery pack into the charger, aligning the contacts correctly. The charger’s indicator light will illuminate, typically red during charging and green when complete.
A full charge usually takes several hours. Avoid interrupting the charging process. Use only the supplied Canon charger to prevent damage or malfunction.
Powering On and Initial Configuration
Begin your photographic journey! Locate the power switch on the Canon Rebel XS. Slide it to the “ON” position. The camera will initialize, displaying the Canon logo and then the shooting screen. You’ll likely be prompted to set the language, date, and time.
Use the buttons and the LCD screen to navigate these initial settings. Accurate date and time are crucial for proper image organization.
Understanding the Camera Interface
Explore the controls! Familiarize yourself with the mode dial, menu buttons, and LCD screen – essential for navigating and customizing your Rebel XS experience.
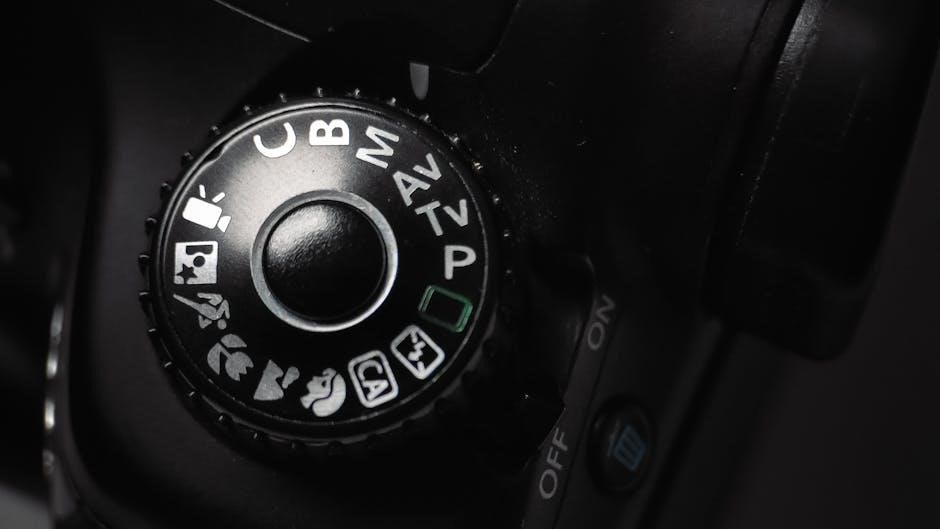
The Mode Dial: Shooting Modes Explained
Mastering the dial is key! The Canon Rebel XS mode dial offers various shooting options. ‘Auto’ simplifies settings for beginners, while ‘P’ (Program) provides some control. ‘Tv’ (Shutter Priority) lets you adjust shutter speed for motion blur or freezing action. ‘Av’ (Aperture Priority) controls depth of field. ‘M’ (Manual) grants full creative control. Scene modes like Portrait, Landscape, and Sports optimize settings for specific situations, offering convenience and enhanced results.
Navigating the Menu System
Explore the settings! The Canon Rebel XS menu is accessed via the ‘Menu’ button. It’s organized into tabs: Shooting, AF, Setup, and more. Use the directional buttons to highlight options and press ‘Set’ to select. Familiarize yourself with customization options for image quality, autofocus, and display settings. Don’t be afraid to experiment – you can always reset to default settings if needed, ensuring a personalized shooting experience.
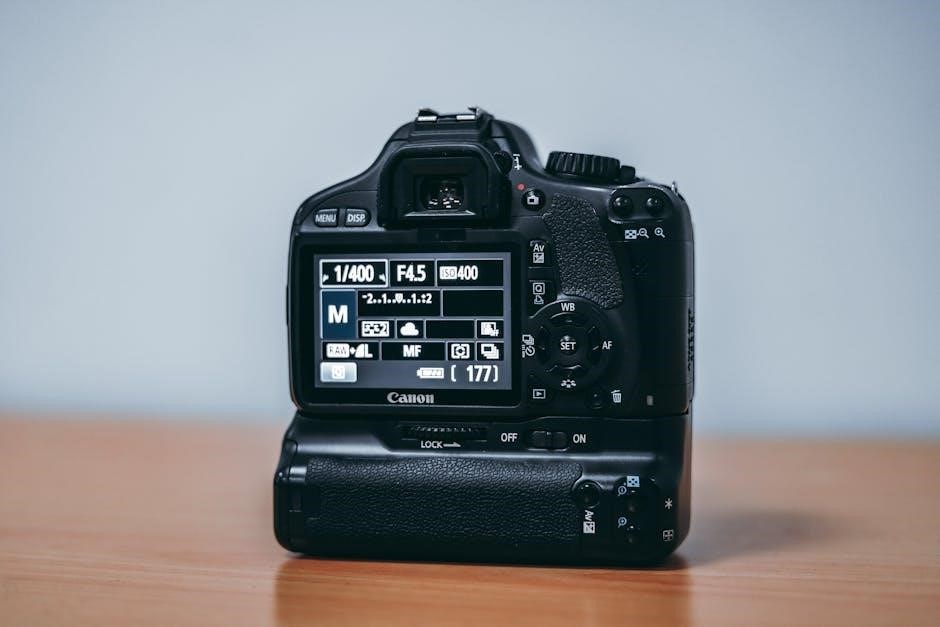
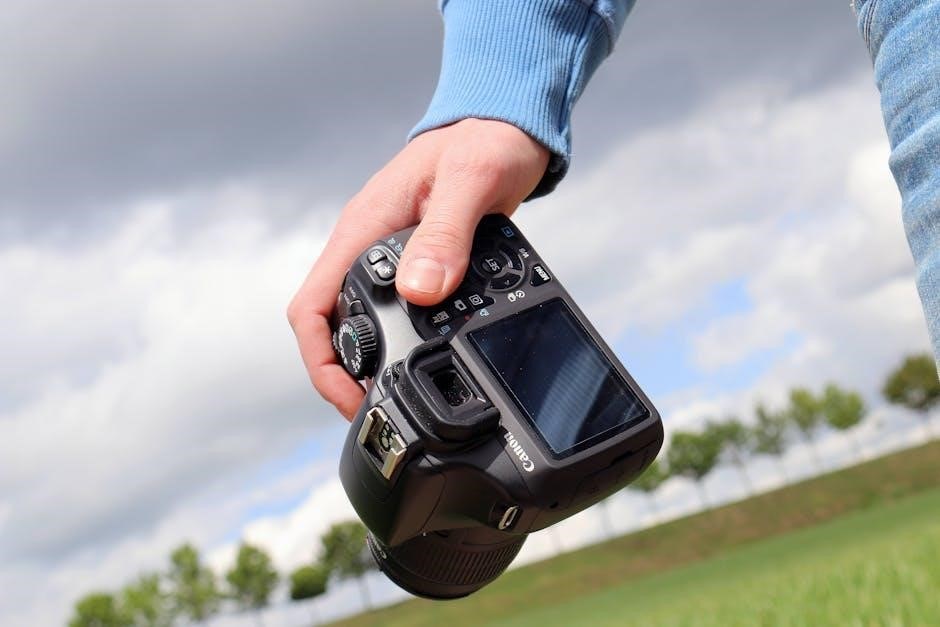
Understanding the LCD Screen
Your visual hub! The Rebel XS LCD displays shooting information, menus, and image playback. During live view, it shows a preview of your shot. Key elements include focus points, shooting mode, and battery level. Use the ‘Display’ button to cycle through information overlays. Review captured images with zoom and playback controls, ensuring optimal composition and sharpness before transferring your photos.
Basic Photography Settings
Essential adjustments! Configure date/time, image quality, and ISO for optimal results. These foundational settings directly impact your photos’ appearance and clarity.
Setting the Date and Time
Accurate timestamps are crucial! To set the date and time on your Canon Rebel XS, navigate to the camera’s menu. Locate the ‘Date/Time’ setting – usually found within the setup menu. Use the directional buttons to adjust the year, month, day, hour, and minute.
Confirm each selection. Proper date and time settings ensure correct file organization and accurate metadata for your photographs, aiding in future sorting and recollection of cherished moments. Remember to double-check for accuracy!
Adjusting Image Quality and Size
Optimize your photos! Within the camera menu, find the ‘Image Quality’ settings. Here, you can choose between RAW and JPEG formats – RAW offers maximum editing flexibility, while JPEG is convenient for immediate use.
Select the desired image size (Large, Medium, Small) based on your needs. Larger sizes provide more detail, ideal for printing, while smaller sizes conserve memory card space. Consider your intended use when making these crucial adjustments.
Understanding ISO Sensitivity
Control light and noise! ISO determines your camera’s sensitivity to light. Lower ISO settings (like 100 or 200) are best for bright conditions, producing cleaner images. Higher ISOs (800, 1600, or higher) are useful in low light, but introduce more noise or grain.
Experiment to find the optimal balance between brightness and image quality. Auto ISO is available for convenience, but manual control offers greater creative control.
Focusing and Shooting
Achieve sharp images! Master autofocus modes, select focus points precisely, and utilize proper shutter button techniques for consistently clear and captivating photographs.
Autofocus Modes: One-Shot, AI Servo, and AI Focus
One-Shot AF is ideal for stationary subjects; the camera focuses when you half-press the shutter. AI Servo AF tracks moving subjects, continuously adjusting focus while the shutter button is pressed.
AI Focus AF intelligently switches between One-Shot and AI Servo, detecting subject movement. Experiment with each mode to determine the best setting for various shooting scenarios. Proper mode selection ensures consistently sharp results, capturing fleeting moments with precision and clarity.
Focus Points: Selection and Usage
The Rebel XS features nine autofocus points. You can select a single point for precise focusing, or allow the camera to automatically choose one. Use the directional buttons to move the selected focus point across the viewfinder.
For moving subjects, consider using a wider area of focus points. Understanding focus point selection is crucial for achieving sharp images, especially when composing shots with specific subjects or intricate details. Experiment to master this essential skill.
Shutter Button Techniques
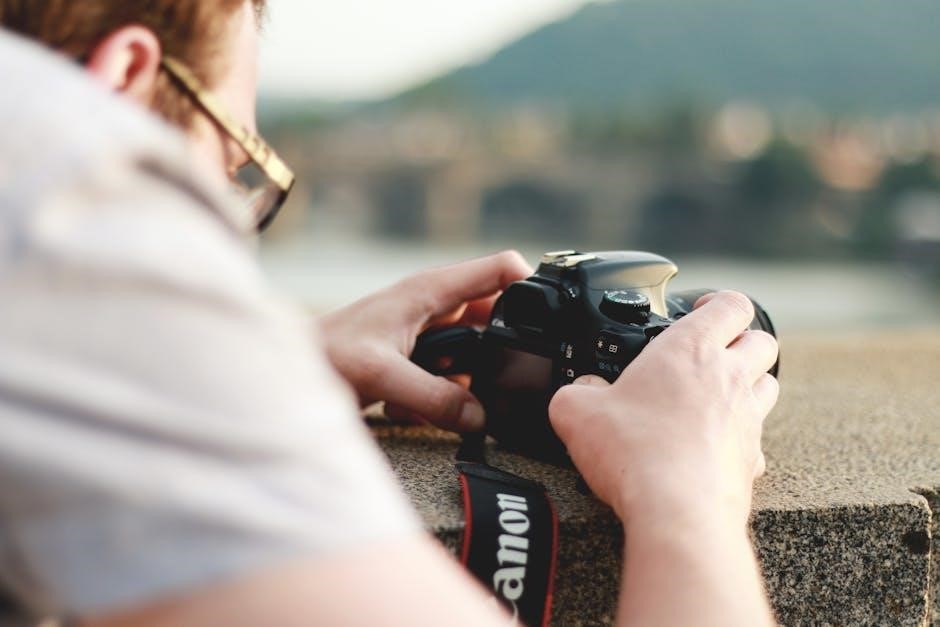
Proper shutter button technique minimizes camera shake. Press the button halfway to activate autofocus and metering, then gently press fully to capture the image. Avoid jabbing or twisting the camera during this process.
For self-portraits or situations where you’re in the frame, utilize the self-timer function. Mastering a smooth, controlled press ensures sharper, clearer photos, particularly in lower light conditions. Practice makes perfect!
Advanced Photography Techniques
Explore creative control! Master aperture, shutter speed, and exposure compensation to unlock your artistic vision with the Canon Rebel XS.
Understanding Aperture and Shutter Speed
Aperture, measured in f-stops (like f/2.8, f/8), controls the lens opening, impacting depth of field – how much of your image is in focus; Lower f-stops create shallow depth, ideal for portraits. Higher f-stops yield greater depth, perfect for landscapes.
Shutter speed, expressed in seconds or fractions of a second (e.g., 1/200s, 1s), determines how long the camera’s sensor is exposed to light. Faster speeds freeze motion, while slower speeds blur it, creating artistic effects. Balancing aperture and shutter speed is key to proper exposure.
Exposure Compensation
Exposure compensation allows you to fine-tune the camera’s automatic exposure settings. If your photos are consistently too bright, use negative compensation (e.g., -1 EV). Conversely, if they’re too dark, apply positive compensation (e.g., +1 EV).
This feature is invaluable in tricky lighting situations where the camera’s meter might be fooled, ensuring you capture the scene as you envision it, not just as the camera perceives it.
White Balance Settings
White balance (WB) corrects color casts caused by different lighting conditions. The Rebel XS offers presets like Daylight, Cloudy, Tungsten, and Fluorescent. Auto White Balance (AWB) generally works well, but for precise color, choose the appropriate preset.
Custom WB allows you to set a perfect balance using a white or gray card, ensuring accurate and vibrant colors in every photograph, regardless of the light source.
Using the Built-in Flash
The Rebel XS’s flash offers Auto, On, and Off modes for versatile illumination, enhancing photos in low-light situations or adding fill light.
Flash Modes: Auto, On, Off
Auto mode intelligently determines when flash is needed, balancing ambient and artificial light for natural-looking results. On mode forces the flash to fire with every shot, ideal for dark environments or filling shadows.
Off mode disables the flash entirely, allowing you to rely solely on available light – perfect for situations where flash is undesirable, like museums or concerts. Experiment with each setting to understand how they impact your images, considering the scene’s lighting conditions and desired aesthetic.
Red-Eye Reduction
Red-eye occurs when the camera flash reflects off the retina of a subject’s eyes, creating a red appearance. To minimize this, enable the Red-Eye Reduction flash mode within the camera’s settings. This feature emits a series of pre-flashes before the main flash, constricting the subject’s pupils.
While effective, it may cause the subject to blink. Alternatively, avoid using direct flash or position yourself further from the subject to lessen the effect.
Flash Exposure Compensation
Flash Exposure Compensation (FEC) allows you to fine-tune the intensity of the flash. Use this feature when the automatic flash setting doesn’t produce the desired results – images are too bright or too dark. FEC is measured in stops (+/- 2EV).
Positive values increase flash power, while negative values decrease it. Experiment to achieve balanced exposure, especially in challenging lighting conditions.

Exploring the Scene Modes
Scene Modes simplify photography! Select pre-set options like Portrait, Landscape, or Sports for optimized settings, ensuring excellent results effortlessly.
Portrait Mode
Portrait Mode is designed to capture flattering images of people. It utilizes a wider aperture, creating a shallow depth of field that blurs the background, beautifully isolating your subject. This effect draws attention to the face and emphasizes features.
The camera automatically optimizes settings for skin tones, ensuring natural-looking results. Remember to focus precisely on the eyes for the sharpest and most engaging portraits. Experiment with different poses and lighting to enhance your portraits further!
Landscape Mode
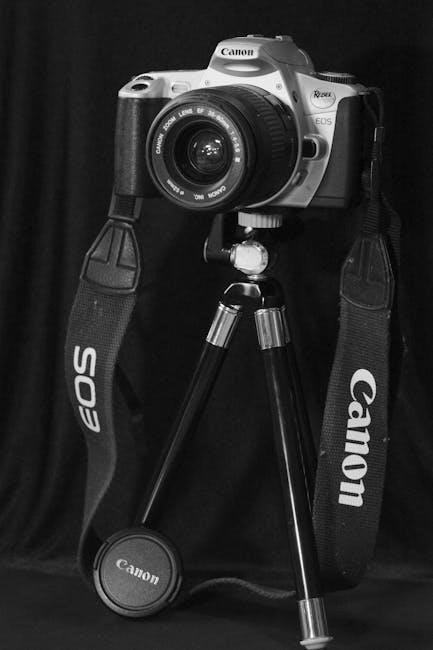
Landscape Mode is perfect for capturing expansive outdoor scenes with sharp detail from foreground to background. The camera prioritizes a smaller aperture, maximizing depth of field to ensure everything remains in focus.
This mode also optimizes color and contrast for vibrant, natural-looking landscapes. Use a tripod for the sharpest results, especially in low light. Compose your shots carefully, utilizing leading lines and the rule of thirds for visually appealing images.
Sports Mode
Sports Mode is designed to freeze fast-action subjects, minimizing motion blur. The camera automatically selects a faster shutter speed to capture quick movements effectively. It also often boosts the ISO to maintain sufficient brightness in challenging lighting conditions.
To maximize success, track your subject smoothly with the autofocus points. Continuous shooting mode (drive mode) is highly recommended for capturing a sequence of images, increasing your chances of getting the perfect shot.

Video Recording with the Rebel XS
Capture memories in motion! This section details how to record videos with your Canon Rebel XS, covering settings, sound, and file transfer options.
Video Recording Settings
Adjusting for optimal video quality is key. The Rebel XS records video in various resolutions, primarily 640×480 (Standard Definition) at 30 frames per second. Access these settings through the camera’s menu system, navigating to the video recording options.
You can select your desired resolution and frame rate. Remember that higher resolutions demand more storage space on your memory card. Experiment with these settings to find the best balance between quality and file size for your needs.
Sound Recording Options
Enhance your videos with clear audio! The Canon Rebel XS features a built-in microphone for capturing sound alongside your videos. Within the camera’s menu, you’ll find options to adjust the audio recording level. A higher level captures more sound, but risks distortion.
Experiment to find the optimal setting for your environment. The camera also allows disabling the microphone for silent recordings, useful in quiet settings or when external audio is preferred.
Playback and Transferring Videos
Review and share your creations! After recording, use the playback button to view your videos directly on the camera’s LCD screen. You can fast-forward, rewind, and pause as needed. To transfer videos to your computer, connect the camera via USB cable. Alternatively, remove the memory card and use a card reader for faster transfer speeds. Canon software aids in organization and editing.
Connecting to a Computer
Seamless data transfer awaits! Easily connect your Canon Rebel XS to a computer using a USB cable or a dedicated card reader for quick photo access.
Transferring Photos via USB
Connecting is simple! Begin by ensuring your Canon Rebel XS is powered off, then connect the provided USB cable to the camera and your computer. Power on the camera; a connection prompt should appear.
Your computer will recognize the camera as a removable drive. Navigate to this drive through File Explorer (Windows) or Finder (Mac) to access your photos and videos.
Copy and paste the desired files to your computer. Remember to safely eject the camera from your operating system before disconnecting the USB cable to prevent data corruption.
Using a Card Reader
A faster alternative! A card reader offers a quicker method for transferring images from your Canon Rebel XS’s memory card to your computer. Simply insert the SD card into the card reader, then plug the reader into a USB port on your computer.
Your computer will recognize the card reader as a removable drive, allowing you to easily browse and copy your photos and videos.
This method bypasses the camera’s internal transfer process, often resulting in significantly faster transfer speeds.
Installing Canon Software
Enhance your experience! The included Canon software suite unlocks advanced editing and organization features. Insert the installation disc or download the latest versions from Canon’s official website.
Follow the on-screen prompts to install Digital Photo Professional for raw image processing and ImageBrowser for basic viewing and organization.
Ensure your computer meets the minimum system requirements for optimal performance of these applications.
Troubleshooting Common Issues
Don’t panic! This section addresses frequent problems like power failures, error messages, and lens incompatibilities, offering quick solutions for smooth shooting.
Camera Not Turning On
First, verify the battery is fully charged and correctly inserted into the compartment. Ensure the battery contacts are clean and making firm contact. Next, check the memory card; a faulty card can sometimes prevent the camera from powering on. Try removing it temporarily.
If the issue persists, inspect the power switch for any damage or obstruction. As a last resort, attempt a reset by removing both the battery and memory card, waiting a few minutes, and then reinserting them. If still unresponsive, contact Canon support.
Error Messages and Solutions
Canon Rebel XS displays error codes indicating specific problems. “Err 99” often signals a shutter issue, requiring professional repair. “Card Full” necessitates emptying or replacing the memory card. “Lens Error” suggests a connection problem; reattach the lens securely.
Consult the full error code list in the camera’s manual for detailed explanations and troubleshooting steps. Restarting the camera can sometimes resolve minor glitches. If errors persist, contact Canon’s customer support for assistance.
Lens Compatibility Issues
The Canon Rebel XS (1000D) utilizes the Canon EF/EF-S lens mount, offering broad compatibility. However, ensure your lens is compatible with the camera’s sensor size (APS-C). EF lenses work seamlessly, while EF-S lenses are designed specifically for APS-C cameras like the Rebel XS.
Third-party lenses may require firmware updates for full functionality. Check Canon’s website for compatibility information and potential adapter requirements for non-Canon lenses.
Maintaining Your Canon Rebel XS
Regular cleaning and proper storage are vital for longevity. Protect your investment with careful handling, battery care, and sensor maintenance practices;
Cleaning the Sensor
Dust on the sensor can appear as spots in your images. Canon recommends using a blower to gently remove loose particles first. If persistent, utilize a sensor cleaning kit – brushes and cleaning fluid specifically designed for camera sensors.
Exercise extreme caution; improper cleaning can damage the sensor. Follow kit instructions precisely. Consider professional sensor cleaning if you’re uncomfortable performing this task yourself, ensuring optimal image quality and preventing potential harm to your camera’s delicate components.
Battery Care
To maximize battery life, fully charge the battery before first use. Avoid extreme temperatures – heat degrades battery performance. Store the battery in a cool, dry place when not in use. Only use Canon-approved chargers to prevent damage or safety hazards.
Do not short-circuit the battery terminals. Regularly charging and discharging the battery helps maintain its capacity. If the battery isn’t used for extended periods, store it partially charged to prolong its lifespan.
Storage and Handling
Proper storage is crucial for your Canon Rebel XS. When not in use, store the camera body and lenses in a dry, dust-free environment, ideally within a camera bag. Avoid exposing the camera to direct sunlight, humidity, or extreme temperatures.
Handle the camera with care, avoiding drops or impacts. Securely attach the strap to prevent accidental falls. Regularly clean the exterior with a soft, dry cloth to remove dust and fingerprints.